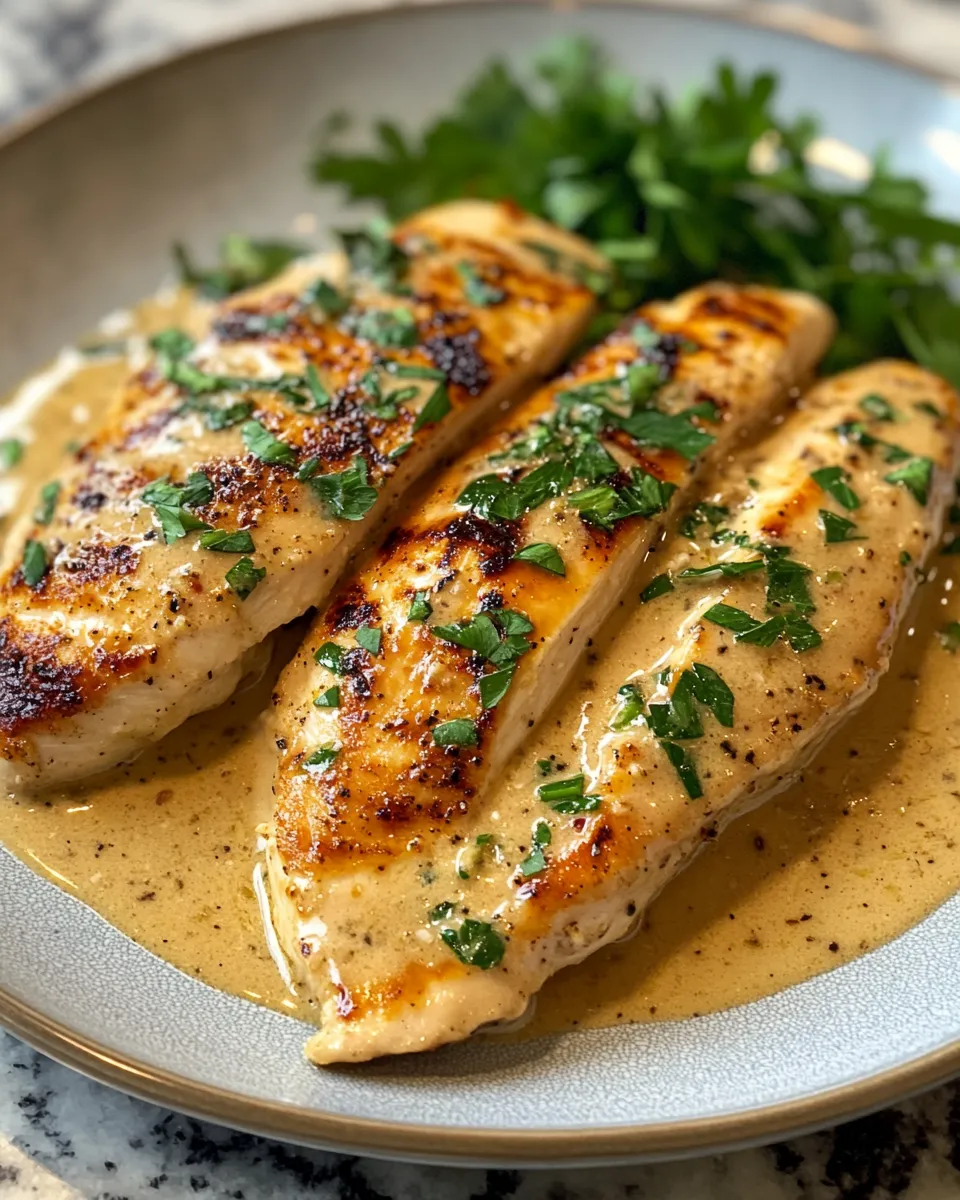
There are desserts that politely end a meal, and then there are desserts that define it. Creamy Inside, Burnt Outside Cheesecake Perfection belongs firmly in the second category. This is the kind of dessert you serve on a quiet weekend evening when the house finally slows down, or when guests linger just a little longer at the table hoping for something unforgettable. With its deeply caramelized top and sides and a center that melts luxuriously on the tongue, this cheesecake feels indulgent yet refreshingly simple.
Inspired by rustic European baking traditions where imperfections are celebrated, this cheesecake rejects the idea that desserts must look pristine to be beautiful. The cracked top, the darkened edges, and the custard-like interior all tell a story of bold heat and confident technique. It’s a recipe born from trusting your oven, embracing contrast, and letting flavor take center stage. Once you experience this cheesecake, it becomes less of a recipe and more of a ritual.
What Makes This Cheesecake So Special
Unlike traditional cheesecakes that rely on a crust and gentle baking, this version leans into high heat and minimal structure. The result is a dramatic contrast between textures: a boldly baked exterior with subtle bitterness balanced by a rich, creamy interior that borders on custard. There’s no crust to distract from the filling, and no water bath to fuss over. It’s a celebration of simplicity and technique working together.
The burnt exterior isn’t accidental—it’s intentional. That deep color creates complexity, adding notes of caramel and toasted dairy that elevate the mild sweetness of the filling. Inside, the cheesecake remains soft and spoonable at the center, firming up slightly as it cools. Each slice offers a gradient of textures, from creamy to velvety to just-set.
Ingredients You’ll Need
Every ingredient in this recipe has a clear role, and quality matters. Because the list is short, each component shines through in the final result.
-
Cream cheese (900 g / 2 lb), softened
The foundation of the cheesecake. Full-fat cream cheese ensures richness and a smooth texture. -
Granulated sugar (300 g / 1 ½ cups)
Provides sweetness and helps create that signature caramelized top. -
Large eggs (5), at room temperature
Eggs give structure while keeping the interior creamy rather than cakey. -
Heavy cream (480 ml / 2 cups)
Adds silkiness and balances the density of the cream cheese. -
All-purpose flour (30 g / ¼ cup)
Just enough to stabilize the cheesecake without making it heavy. -
Vanilla extract (1 tablespoon)
Enhances the natural sweetness and rounds out the flavors. -
Fine salt (½ teaspoon)
Essential for balancing sweetness and deepening overall flavor.
Step-by-Step Instructions
1. Prepare the Pan and Oven
Begin by preheating your oven to 220°C / 425°F. This high temperature is essential to achieving the signature contrast between the deeply caramelized exterior and the creamy interior. While the oven heats, prepare a 23 cm / 9-inch springform pan by lining it with parchment paper. Press the paper firmly against the base and sides, allowing it to extend several centimeters above the rim. This extended parchment is important because the cheesecake will rise significantly during baking, and the overhang helps contain the batter while contributing to the rustic, crinkled appearance that defines this dessert. There is no need to grease the pan, as the parchment provides all the release you need.
2. Mix the Base
Place the softened cream cheese (900 g / 2 lb) into a large mixing bowl. Using a hand mixer or stand mixer on medium speed, beat the cream cheese until it becomes completely smooth and creamy, with no visible lumps. This step is crucial, as any lumps at this stage will remain in the finished cheesecake. Once smooth, add the granulated sugar (300 g / 1 ½ cups) and continue mixing until the mixture is glossy and well combined. Take your time during this step, scraping down the sides of the bowl as needed. A well-mixed base ensures a silky texture throughout the cheesecake.
3. Add the Eggs
Crack the 5 large eggs, ensuring they are at room temperature, and add them to the mixture one at a time. Mix gently after each addition, just until the egg is fully incorporated before adding the next. This gradual process helps maintain a smooth batter without introducing too much air. Overmixing at this stage can lead to a lighter, more cake-like texture, which is not the goal for this cheesecake. The batter should remain dense, creamy, and cohesive.
4. Incorporate the Cream and Flavorings
With the eggs fully incorporated, pour in the heavy cream (480 ml / 2 cups), followed by the vanilla extract (1 tablespoon) and fine salt (½ teaspoon). Mix on low speed until everything is just combined. The batter should now be looser, silky, and pourable, with a rich sheen. The heavy cream adds luxurious softness to the interior, while the vanilla enhances the overall flavor without overpowering the natural tang of the cream cheese. The salt balances the sweetness and deepens the caramelized notes that will develop during baking.
5. Add the Flour
Sift the all-purpose flour (30 g / ¼ cup) directly over the bowl. Using a spatula or mixing on the lowest speed, gently fold the flour into the batter until fully incorporated. This small amount of flour provides just enough structure for clean slicing while preserving the creamy, custard-like center. Be careful not to overmix, as excessive mixing can develop gluten and affect the final texture.
6. Bake Boldly
Pour the finished batter into the prepared pan, smoothing the top lightly if needed. Place the pan on the center rack of the oven and bake for 45–50 minutes. During baking, the cheesecake will puff up, and the top will darken dramatically. The goal is a deeply golden to nearly burnt surface with cracked, uneven edges. When gently shaken, the center should still jiggle noticeably. This movement indicates that the interior remains creamy and will set perfectly as it cools.
7. Cool and Set
Remove the cheesecake from the oven and place it on a wire rack. Allow it to cool completely at room temperature without disturbing it. As it cools, the cheesecake will sink slightly in the center and develop its signature dense yet creamy texture. This cooling phase is essential, as the residual heat continues cooking the interior gently.
8. Chill Before Serving
Once fully cooled, refrigerate the cheesecake for at least 4 hours, though overnight chilling is ideal. Chilling allows the flavors to mature and the texture to stabilize. Before serving, you can let the cheesecake sit at room temperature for about 20 minutes for the creamiest consistency. The result is a perfectly balanced cheesecake with a bold exterior and a soft, luscious center.

Serving Suggestions
This cheesecake stands beautifully on its own, but you can elevate it further with simple accompaniments. Fresh berries add brightness, while a light dusting of powdered sugar softens the visual contrast. A spoonful of lightly sweetened whipped cream can add an airy counterpoint to the dense creaminess.
Frequently Asked Questions
Why does this cheesecake look burnt on top?
The dark, caramelized exterior is one of the defining features of Creamy Inside, Burnt Outside Cheesecake Perfection. Baking at a high temperature allows the sugars and dairy proteins on the surface to caramelize deeply, creating complex flavors that contrast beautifully with the mild, creamy interior. While it may look overbaked at first glance, this “burnt” top is intentional and essential to the overall taste. The bitterness from the caramelization balances the richness of the filling, making each bite more nuanced and less sweet than traditional cheesecakes.
How do I know when the cheesecake is done baking?
This cheesecake follows a different doneness rule than classic versions. Instead of looking for a fully set center, you want the middle to remain noticeably jiggly when the pan is gently shaken. The edges should be puffed and set, while the center moves like thick custard. The top should be deeply browned. As the cheesecake cools, residual heat will continue to cook the center, resulting in the signature creamy texture. Overbaking will lead to a firmer, less luscious interior.
Can I make this cheesecake ahead of time?
Yes, and it’s often even better when made ahead. Preparing the cheesecake a day in advance allows the flavors to fully develop and the texture to stabilize. Once cooled and chilled, keep it covered in the refrigerator for up to 3 days. When ready to serve, let it sit at room temperature for about 20–30 minutes to soften slightly. This ensures the center is creamy and smooth, not overly firm from refrigeration.
Why is there no crust in this recipe?
Skipping the crust is a deliberate choice. Without a crust, the focus remains entirely on the contrast between the burnt exterior and the creamy interior. A crust would add structure and crunch, which can distract from the custard-like texture that makes this cheesecake unique. The parchment-lined pan provides enough support, and the flour in the batter helps the cheesecake hold its shape once sliced.
Tips for Perfect Results Every Time
-
Use room-temperature ingredients to ensure a smooth batter.
-
Avoid overmixing, especially after adding the eggs.
-
Don’t be afraid of color—the darker top is where much of the flavor comes from.
-
Allow adequate cooling and chilling time before slicing.
Final Thoughts
Creamy Inside, Burnt Outside Cheesecake Perfection is more than just a dessert—it’s a statement. It challenges traditional expectations of what a cheesecake should look like and rewards that boldness with unforgettable flavor and texture. The contrast between the deeply caramelized exterior and the soft, luscious center creates a sensory experience that feels both comforting and exciting.
What makes this recipe especially appealing is its approachability. There’s no crust to press, no water bath to manage, and no need for elaborate decoration. Instead, it invites you to trust the process and embrace imperfection. The cracked surface, the uneven browning, and the rustic presentation are all part of its charm. Each cheesecake will look slightly different, and that uniqueness is something to celebrate.
This is the kind of dessert that becomes a signature—one friends request by name and family associates with special moments. Whether served at a dinner gathering, a holiday table, or simply as a treat for yourself, it leaves a lasting impression. Once you master this cheesecake, you’ll find yourself returning to it again and again, not just for its simplicity, but for the joy it brings with every creamy, caramelized bite.
Print
Creamy Inside, Burnt Outside Cheesecake Perfection
- Total Time: 1 hour 10 minutes plus chilling
- Yield: 10–12 slices
Description
A bold, rustic cheesecake with a deeply caramelized exterior and an irresistibly creamy center that melts in your mouth.
Ingredients
-
Cream cheese (900 g / 2 lb), softened
-
Granulated sugar (300 g / 1 ½ cups)
-
Large eggs (5), room temperature
-
Heavy cream (480 ml / 2 cups)
-
All-purpose flour (30 g / ¼ cup)
-
Vanilla extract (1 tablespoon)
-
Fine salt (½ teaspoon)
Instructions
-
Preheat oven to 220°C / 425°F and line a 23 cm / 9-inch springform pan with parchment paper.
-
Beat cream cheese until smooth, then mix in sugar until creamy.
-
Add eggs one at a time, mixing gently after each.
-
Pour in heavy cream, vanilla extract, and salt; mix until combined.
-
Sift in flour and fold gently until smooth.
-
Pour batter into prepared pan.
-
Bake for 45–50 minutes until the top is deeply browned and the center jiggles.
-
Cool completely, then refrigerate for at least 4 hours before serving.
Notes
- Prep Time: 20 minutes
- Cook Time: 50 minutes