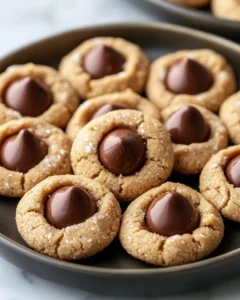
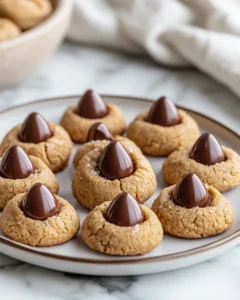
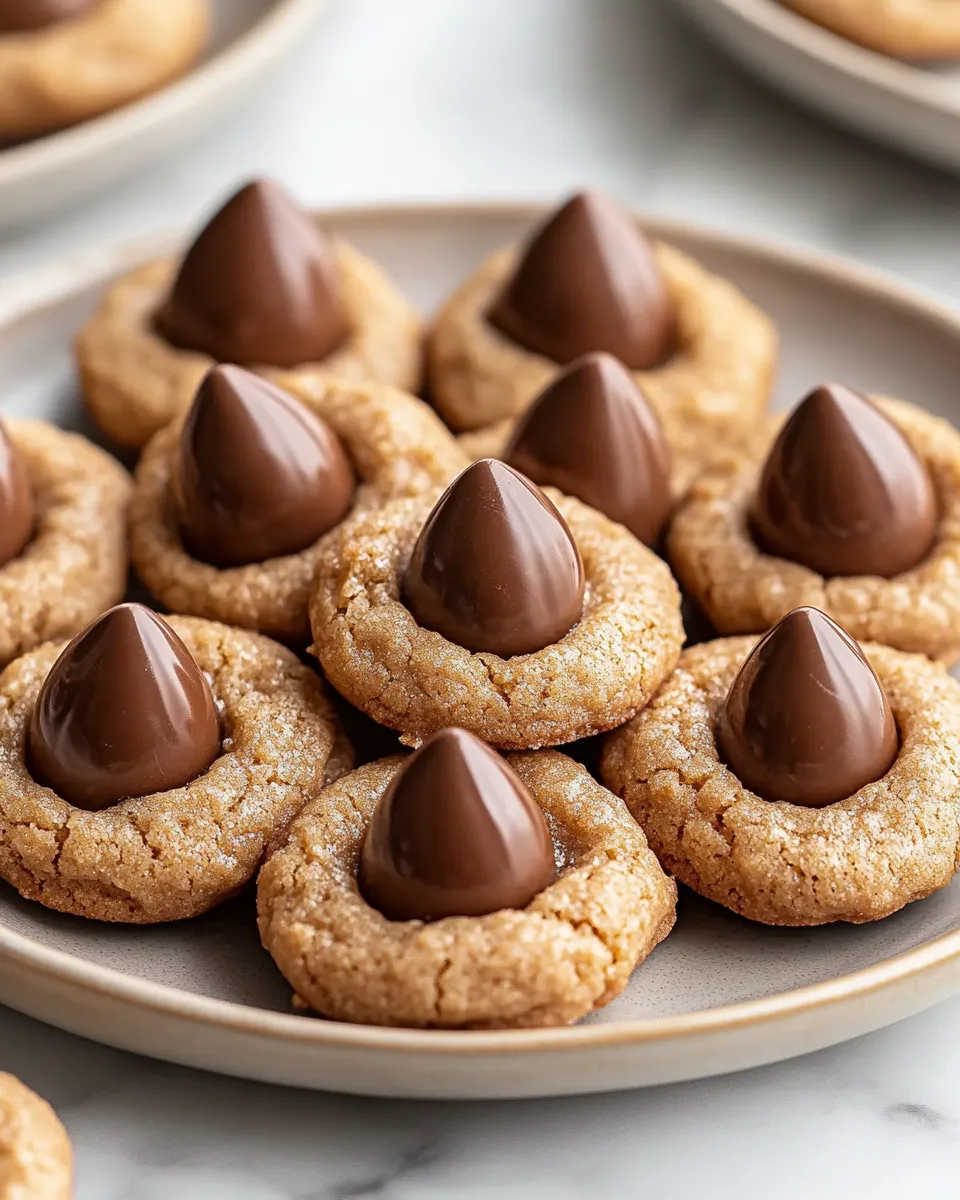
Few cookies can stir up as much nostalgia as Classic Peanut Butter Blossom Cookies — those golden, sugar-dusted peanut butter rounds topped with a perfectly placed chocolate kiss. They’re a hallmark of the holiday cookie tray, but they’re just as delightful for everyday baking. These cookies first became popular in mid-20th century America, a time when home bakers loved combining simple pantry staples to create something magical. With their irresistible mix of creamy peanut butter and smooth milk chocolate, Peanut Butter Blossoms capture the taste of comfort and tradition in every bite.
Whether you’re baking them for Christmas, sharing them at a bake sale, or simply treating yourself after dinner, these cookies are pure joy. They’re soft, chewy, and melt-in-your-mouth delicious — a timeless favorite that never goes out of style.
The Sweet History of Peanut Butter Blossoms
The story of Peanut Butter Blossoms dates back to 1957, when Freda Smith from Gibsonburg, Ohio, entered her original peanut butter cookie recipe into the Pillsbury Bake-Off Contest. Instead of pressing the traditional fork crisscross pattern on her cookies, she decided to press a chocolate kiss into the center of each cookie while it was still warm. The result? A simple yet iconic treat that has since become a household name.
Though her recipe didn’t win the grand prize that year, it became one of the most beloved cookie recipes in America. The soft, chewy peanut butter base paired with the glossy chocolate center was an instant classic — one that continues to bring smiles to generations of bakers.
Why You’ll Love These Cookies
If you’re looking for a cookie recipe that’s easy, crowd-pleasing, and full of nostalgic flavor, this one checks every box. Here’s why:
-
Perfect Texture: Soft and chewy in the center, lightly crisp on the edges.
-
Balanced Flavor: The sweet chocolate pairs beautifully with salty, nutty peanut butter.
-
Beautiful Presentation: That signature chocolate kiss makes every cookie look festive and inviting.
-
Simple Ingredients: No need for fancy equipment or hard-to-find items.
-
Family Favorite: Loved by kids, adults, and everyone in between.
These cookies also make an excellent edible gift. Stack them in a glass jar with a ribbon, or box them up for a homemade touch during the holidays.
Ingredients
Here’s everything you’ll need to make these Classic Peanut Butter Blossom Cookies:
-
1/2 cup (1 stick) unsalted butter, softened
-
3/4 cup creamy peanut butter
-
1/3 cup granulated sugar (plus more for rolling)
-
1/3 cup packed light brown sugar
-
1 large egg
-
2 tablespoons milk
-
1 teaspoon pure vanilla extract
-
1 1/2 cups all-purpose flour
-
1 teaspoon baking soda
-
1/2 teaspoon salt
-
About 36 milk chocolate kisses, unwrapped
Directions
-
Preheat the oven to 375°F (190°C) and line baking sheets with parchment paper.
-
Cream the butter, peanut butter, and sugars together in a large mixing bowl using an electric mixer until light and fluffy (about 2 minutes).
-
Beat in the egg, milk, and vanilla extract until smooth and well combined.
-
In a separate bowl, whisk together the flour, baking soda, and salt.
-
Gradually add the dry ingredients to the wet mixture, mixing until just combined. Do not overmix.
-
Shape the dough into 1-inch balls. Roll each ball in granulated sugar to coat.
-
Place the dough balls about 2 inches apart on the prepared baking sheets.
-
Bake for 8–10 minutes, or until the edges are lightly golden and the tops start to crack slightly.
-
Remove the cookies from the oven and immediately press a chocolate kiss into the center of each one. The cookie edges will crack a bit — that’s exactly what you want.
-
Allow cookies to cool on the baking sheet for 2–3 minutes, then transfer them to a wire rack to cool completely.
Prep Time, Cook Time, Total Time, Yield
-
Prep Time: 15 minutes
-
Cook Time: 10 minutes per batch
-
Total Time: 25 minutes
-
Yield: About 36 cookies
Notes
-
For an extra peanut-forward flavor, use natural creamy peanut butter, but make sure to stir it well before using.
-
Do not overbake — the cookies will continue to set as they cool.
-
To make these cookies ahead, refrigerate the dough (covered) for up to 2 days before baking.
-
You can freeze the baked cookies in an airtight container for up to 2 months. Let them come to room temperature before serving.
-
If you prefer a less sweet cookie, try using dark chocolate kisses instead of milk chocolate.
Tips for the Perfect Peanut Butter Blossom Cookies
Every great baker knows that a few extra touches can turn a simple cookie into something spectacular. Here’s how to make yours bakery-quality every time:
1. Use Room Temperature Ingredients
Softened butter and room-temperature eggs help the ingredients blend smoothly, creating that soft, tender texture you love.
2. Don’t Skip the Sugar Coating
Rolling the dough in sugar not only adds sparkle but also gives each cookie a lightly crisp surface that complements the chewy center.
3. Add the Chocolate Kiss Immediately
Press the chocolate into the warm cookies right after baking. This ensures it adheres perfectly without melting too much.
4. Chill the Dough (Optional)
If your kitchen is warm, chilling the dough for 15–20 minutes before rolling will help prevent the cookies from spreading too much.
5. Keep an Eye on Baking Time
Because every oven runs slightly differently, start checking your cookies at 8 minutes. The key is to pull them out while they still look soft in the center.
Variations to Try
Once you’ve mastered the classic recipe, try putting your own spin on it. Here are a few fun variations that add a new twist without losing that signature charm:
-
Chocolate Peanut Butter Blossoms: Replace 1/4 cup of flour with cocoa powder for a chocolatey cookie base.
-
Nutty Crunch Blossoms: Roll the dough balls in finely chopped peanuts instead of sugar.
-
Holiday Blossoms: Use festive colored sugar for rolling — red and green for Christmas, pastel for Easter.
-
Mini Blossoms: Make bite-sized cookies using smaller dough balls and mini chocolate kisses. Perfect for parties.
-
Peanut Butter Cup Blossoms: Swap out the chocolate kiss for a mini peanut butter cup pressed in the center.
Each variation adds its own charm while staying true to the heart of the original.
Serving Suggestions
These cookies are incredibly versatile. Here are a few ways to enjoy and serve them:
-
Holiday Cookie Platters: Combine them with sugar cookies, fudge, and thumbprints for a festive mix.
-
After-Dinner Treat: Serve with a glass of milk, coffee, or hot cocoa for the perfect sweet ending.
-
Gift Idea: Package a dozen cookies in a decorative tin or glass jar tied with twine — thoughtful and homemade.
-
Bake Sale Favorite: Their cute, iconic look makes them a guaranteed hit at fundraisers and community events.
You can even turn these cookies into ice cream toppers — crumble a few over vanilla ice cream for a peanut butter and chocolate sundae experience.
Storage and Make-Ahead Tips
These cookies are not only delicious but also practical for planning ahead.
Room Temperature
Store cooled cookies in an airtight container at room temperature for up to 5 days. Place parchment paper between layers to prevent sticking.
Freezing the Dough
To freeze unbaked dough balls, arrange them on a baking sheet and freeze until solid. Then transfer to a freezer bag. When ready to bake, roll in sugar and bake directly from frozen — just add 1–2 extra minutes of baking time.
Freezing Baked Cookies
Baked cookies freeze beautifully. Store them in a freezer-safe container with parchment between layers. Let them thaw on the counter for about 30 minutes before enjoying.
The Perfect Holiday Cookie
There’s something deeply nostalgic about Classic Peanut Butter Blossom Cookies during the holidays. The combination of peanut butter and chocolate feels cozy and familiar, while the sparkle of sugar makes them look festive on any cookie platter.
These cookies often find their way into holiday baking traditions because they’re easy to make, universally loved, and always photogenic. The aroma that fills the kitchen — warm peanut butter mingling with melting chocolate — instantly feels like home.
They also make a great baking activity for families. Kids love rolling the dough in sugar and pressing the chocolate kiss into the warm cookie. It’s a simple, joyful recipe that brings everyone together in the kitchen.
Common Mistakes to Avoid
Even though this recipe is beginner-friendly, a few common pitfalls can affect your results. Here’s how to avoid them:
-
Using cold butter: This prevents proper creaming, leading to dense cookies.
-
Overmixing the dough: Once you add the flour, mix just until combined.
-
Overbaking: The cookies should still look slightly soft when you remove them from the oven.
-
Skipping the sugar roll: This step gives the cookies their signature crackled, sparkly look.
-
Pressing the chocolate too late: The cookies should still be warm to help the chocolate adhere properly.
Follow these simple guidelines, and you’ll get perfect results every time.
Frequently Asked Questions
1. Can I use crunchy peanut butter instead of creamy?
Yes, you can! Crunchy peanut butter will add a bit of texture from the peanut pieces. Just note that it might make the cookies slightly less smooth.
2. What kind of chocolate kisses should I use?
Traditional milk chocolate kisses are the classic choice, but you can experiment with dark chocolate, caramel-filled, or white chocolate versions for variety.
3. Can I double the recipe?
Absolutely. This recipe doubles beautifully, making it ideal for large gatherings or gifting.
Dry cookies are usually the result of overbaking or adding too much flour. Measure carefully and remove the cookies when they’re just set.
Print
Classic Peanut Butter Blossom Cookies Recipe
- Total Time: 25 minutes
- Yield: 36 cookies 1x
Description
Few treats capture the warmth of homemade baking quite like Classic Peanut Butter Blossom Cookies. These soft, chewy peanut butter cookies topped with a rich chocolate kiss are timeless favorites, perfect for holidays, bake sales, or cozy afternoons at home. Their sweet and nutty flavor paired with the iconic chocolate center makes every bite nostalgic and comforting.
Ingredients
-
1/2 cup (1 stick) unsalted butter, softened
-
3/4 cup creamy peanut butter
-
1/3 cup granulated sugar (plus more for rolling)
-
1/3 cup packed light brown sugar
-
1 large egg
-
2 tablespoons milk
-
1 teaspoon pure vanilla extract
-
1 1/2 cups all-purpose flour
-
1 teaspoon baking soda
-
1/2 teaspoon salt
-
About 36 milk chocolate kisses, unwrapped
Instructions
-
Preheat the oven to 375°F (190°C) and line baking sheets with parchment paper.
-
In a large mixing bowl, cream together the butter, peanut butter, granulated sugar, and brown sugar until light and fluffy.
-
Add the egg, milk, and vanilla extract, and beat until smooth.
-
In a separate bowl, whisk together flour, baking soda, and salt.
-
Gradually add the dry ingredients to the wet mixture, stirring until just combined.
-
Shape the dough into 1-inch balls and roll each one in granulated sugar.
-
Place dough balls 2 inches apart on prepared baking sheets.
-
Bake for 8–10 minutes, or until edges are lightly golden and tops begin to crack.
-
Remove from the oven and immediately press a chocolate kiss into the center of each cookie.
-
Cool on the baking sheet for 2–3 minutes before transferring to a wire rack to cool completely.
Notes
- Prep Time: 15 minutes
- Cook Time: 10 minutes per batch


